ReactNativeの開発環境をサクッと構築
アプリを作ってみたくなり、Web開発者としてとっつきやすそうなReactNativeに入門してみました。 この記事の内容は、開発環境構築から実機で動作確認するところまでです。
環境
今回は試してませんが実機の代わりにシミュレータでも動作します。
XDEをインストール
以下のリンクからExpo SDKをDLしてインストールします。 起動するとアカウント登録を促されるので登録します。
CRNAをインストール
面倒な環境構築をすっ飛ばしてくれるすごいやつ。 好みでyarnを使ってインストールしていますが、もちろんnpmでもできます。
$ yarn global add create-react-native-app

yarn global v1.3.2
[1/4] 🔍  Resolving packages...
[2/4] 🚚  Fetching packages...
[3/4] 🔗  Linking dependencies...
[4/4] 📃  Building fresh packages...
success Installed "create-react-native-app@1.0.0" with binaries:
      - create-react-native-app
✨  Done in 28.44s.
インストールしたら早速アプリを作成しましょう。
名前は何でもいいのでtest-appとしました。
$ create-react-native-app test-app

Creating a new React Native app in /Users/yuto/practice/react-native/test-app.

Using package manager as yarnpkg with yarn interface.
Installing packages. This might take a couple minutes.
Installing react-native-scripts...

...

Success! Created test-app at /Users/yuto/practice/react-native/test-app
Inside that directory, you can run several commands:

  yarn start
    Starts the development server so you can open your app in the Expo
    app on your phone.

  yarn run ios
    (Mac only, requires Xcode)
    Starts the development server and loads your app in an iOS simulator.

  yarn run android
    (Requires Android build tools)
    Starts the development server and loads your app on a connected Android
    device or emulator.

  yarn test
    Starts the test runner.

  yarn run eject
    Removes this tool and copies build dependencies, configuration files
    and scripts into the app directory. If you do this, you can’t go back!

We suggest that you begin by typing:

  cd test-app
  yarn start

Happy hacking!
作成されたディレクトリに移動し、開発サーバーを起動します。
$ cd test-app/
$ yarn start

See https://git.io/v5vcn for more information, either install watchman or run the following snippet:
  sudo sysctl -w kern.maxfiles=5242880
  sudo sysctl -w kern.maxfilesperproc=524288
watchman を入れてねと言われたのでインストールします。
watchman はファイルシステムの監視ツールです。
$ brew install watchman
気を取り直して再度起動します。
$ yarn start
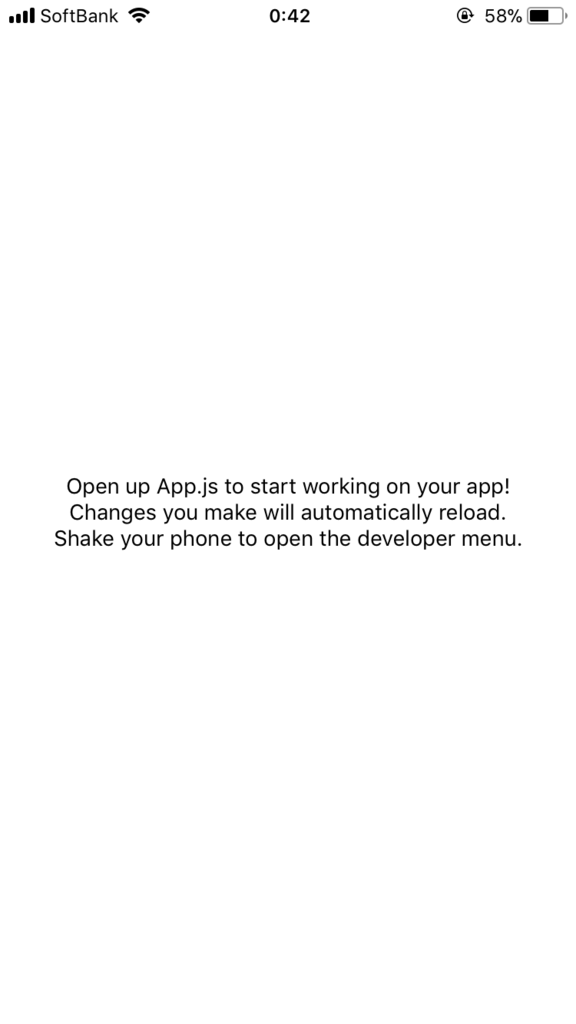
うまくいくとビルドがはじまり、ターミナルにQRコードが表示されます。 iOSかAndroidの実機を用意し、expoアプリから上記のコードを読み込むと、実機で動作確認することができます。

コードの変更もすぐに反映されます。お手軽すごい。
ついでにコンポーネントライブラリを入れて遊んでみます。 NativeBaseをインストール
$ yarn add native-base
$ yarn add @expo/vector-icons
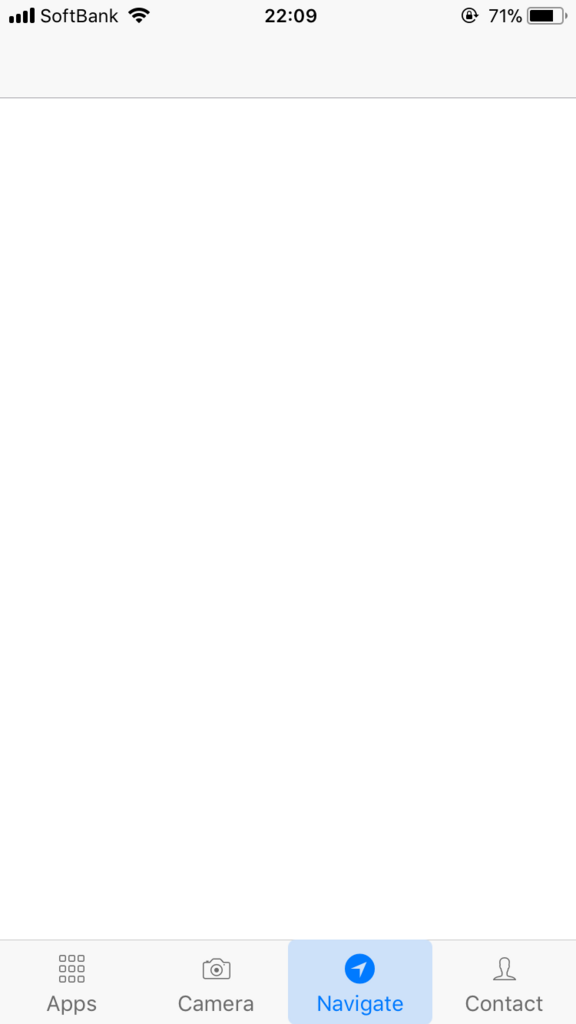
App.jsを以下のように変更しました。
NativeBaseにはカスタムフォントが含まれるため、コンポーネントをレンダリングする前にフォントをロードするようにしました。
他にはrender内に公式のサンプルコンポーネントのコードを適当に追加しています。
import React from 'react';
import { Container, Header, Content, Footer, FooterTab, Button, Icon, Text } from 'native-base';
import Expo from 'expo';

export default class App extends React.Component {
  state = { fontLoaded: false };

  async componentWillMount() {
    await Expo.Font.loadAsync({
      'Roboto': require('native-base/Fonts/Roboto.ttf'),
      'Roboto_medium': require('native-base/Fonts/Roboto_medium.ttf'),
    });

    this.setState({fontLoaded: true});
  }

  render() {
    return (
      <Container>
        <Header />
        <Content />
        {
          this.state.fontLoaded ? (
            <Footer>
              <FooterTab>
                <Button vertical>
                  <Icon name="apps" />
                  <Text>Apps</Text>
                </Button>
                <Button vertical>
                  <Icon name="camera" />
                  <Text>Camera</Text>
                </Button>
                <Button vertical active>
                  <Icon active name="navigate" />
                  <Text>Navigate</Text>
                </Button>
                <Button vertical>
                  <Icon name="person" />
                  <Text>Contact</Text>
                </Button>
              </FooterTab>
            </Footer>
          ) : null
        }
      </Container>
    );
  }
}
実機で確認 👀
| iOS | Android |
|---|---|
 |
 |